Thursday, June 14, 2012

Inspiration Board: 1930s/40s glamour loungewear

1940s loungewear

1940s loungewear by sewindigo featuring pink slippers

A word about housecoats (also known as dust coats) - not too glamorous sounding are they? But don't confuse them with the everyday "dressing gown" we know now. In the past, dressing gowns were  associated with male clothing. Housecoats were a feminine item, popular in the 1940s. They were used to put over day clothes to protect them when doing chores in the home, hence the long sleeves and longer hemlines.

Housecoats were usually made of a lightweight fabric or sometimes quilted for warmth and would fasten down the front with either a zipper or buttons.  The red housecoat in this board is by Mainboucher from 1950s (in the Met Museum). Hardly a frumpy style "dressing gown"! The McCall housecoat pattern is from 1939.

Overtime the purpose of the housecoat changed and women starting wearing them in the evening when hosting guests. The term housecoat is rarely used now has merged with the dressing gown into a unisex item worn at home. 

Wednesday, June 6, 2012

The Duchess of Windsor as a designer

While the controversial  Duchess of Windsor had a reputation as a woman of style, I never knew she was a pattern designer. Did you?


From the late 1950s and well into the 60s, the Duchess of Windsor worked with the Spadea pattern company to design patterns. Spadea patterns have a reputation of being some of the best pattern produced in the 20th century and worked with a number of American designers and celebrities over the years. If you're interested, you can find an excellent overview of the history and design of Spadea patterns here.

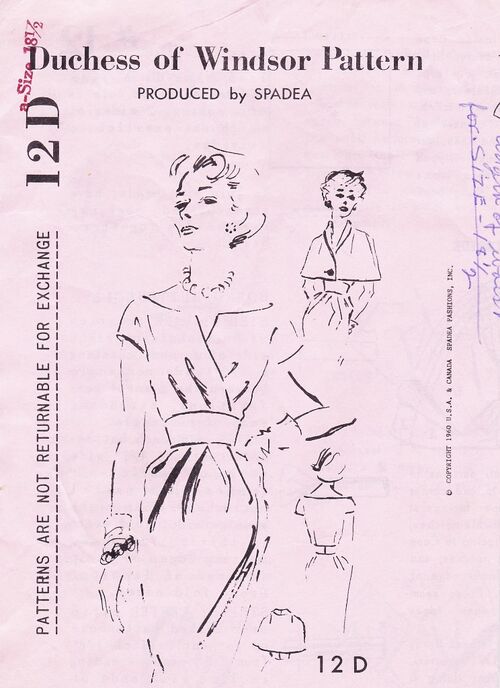
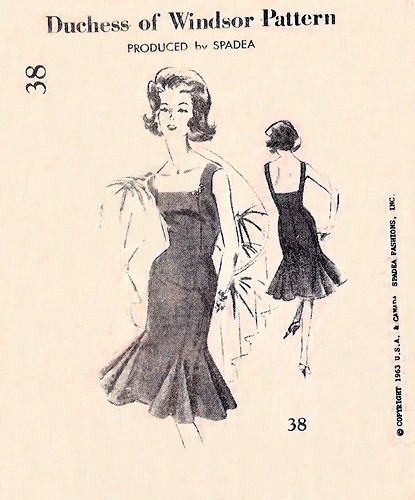
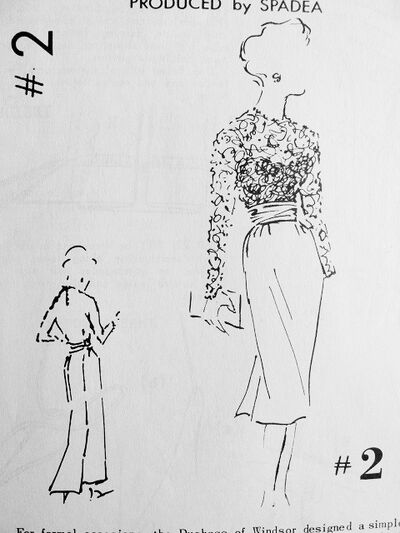
Here's some examples of the Duchess of Windsor patterns and I think if you look back through some of her photographs they definitely reflect here sense of fashion.

one of mine from 1960

1963


Sunday, May 27, 2012

Fitting a commercial pattern: Pants

Recently I  attended my second class on fitting and modifying a commercial pattern. Last time it was a dress, this time pants.

I have wanted to make the Colette Clover pants for sometime - so cute and versatile but I was intimidated mainly because they are PANTS and they are fitted! Plus I've never made a pair of pants before.

Source

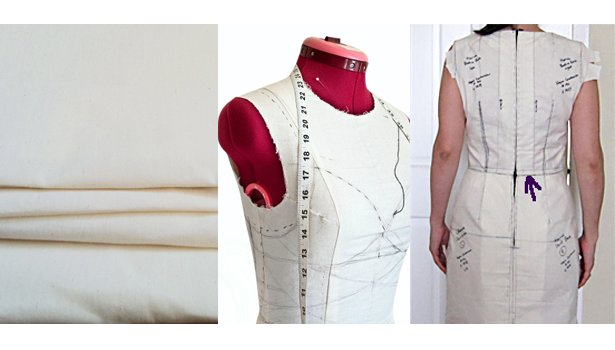
So best to get help from professionals - I'm glad I did. So, I completed a muslin (in calico) based on the sizing on the chart I thought. Not good - too small around the hips and way too low at the back. Also there's something strange going on in the crotch area of the pattern and it was a bit full at the front.

Source - not my pants btw
So quite a few modifications needed and a second muslin will have to be done. Having read other blogs on the Clover pants, fitting this pattern (or maybe all pants) can be an issue but when people get it right, they seemed to be happy with them.

My suggestions:-
- definitely make a test garment (ideally in a similar stretch fabric)
- Colette as a series of blogs for her Clover Sewalong which includes fabric select and fitting - definitely worth a look

Despite making the muslin in calico (I couldn't find any cheap fabric with the right stretch), I will be using fabric with stretch for comfort. So I'll be checking the fit again in the fashion fabric. I want to include stretchable interlining in the pants to help minimise the stretch fabric growing as I wear it (I hope). And I'll be lining them for luxury and comfort. This could be overkill but I'll see how we go.

I've found a thick French blue cotton with some stretch which will be excellent for my first attempt. Fingers crossed.....

Monday, May 21, 2012

Finished garment: Vintage red sheath dress

You may remember I finished a couple of courses recently:-
- Susan's Khaljie's online The Couture Dress course
- Fitting a commercial pattern course

I decided to apply what I had learned to a vintage sheath dress pattern I'd collected some time ago. It ticked all the right boxes for us curvy girls:-


  • the bodice and skirt darts allowed for figure flattering fitting
  • the skirt was not quite pencil straight so was hip/thigh skimming
  • the 2 side slits allowed for ease of movement
  • there was a nice V neck feature at the back of the dress
  • there were some subtle tucks at the waist making the stomach area more flattering
  • I left the overskirt option off but having seen the dress, it could be quite cute in the right fabric
So to the fabric and construction:-

-source-
  • Fashion fabric: Red/black digital print cotton with a subtle sateen finish. Originally I was thinking silk but I chose a lower cost option so I could test the outcome and also wear it more often. I also wanted a slightly retro look in the fabric
  • Interlining: lightweight cotton (not my best choice as it did not have great body and was difficult to handle but then I did want a washable option)
  • Lining: Red poly acetate - cost related choice again but it was a pain to handle (especially during cutting and marking)
Not the greatest photos but I promise to post photos of me wearing the dress...
Front - boat neck fitted bodice

Side view
Side view - hand inserted side zip

Back view - V neckline

Here's what I learned:-
  • After the muslin fitting, I spent ages adjusting the muslin (darts etc) and reassembling the toile to make sure I had the fit correct. It was worth it. It was so fantastic to have a garment that fitted regardless of size or shape. It make a huge difference
  • I followed Susan's assembly techniques pretty much to the letter. Hand basting, interlining, inserting the lining by hand - the whole nine yards. Again, it was so worth it - the dress is an absolute dream to wear! The interlining and lining makes the garment feel more "substantial", "luxurious" and comfortable to wear.
  • I enjoyed the handsewing! Not so much the thread tracing but inserting the lining and zip by hand was easier than I thought and you get more control. Even prick stitching the lining so it didn't roll past the fashion fabric was really satisfying to do. 
  • I will absolutely use this muslin pattern again. I could use it to adjust the front neckline for variety. Because the shape is so classic - it lends itself to variation in fabric and some alterations eg. sleeves.
  • I learned lots of patience and I can still hear my other half say "is it worth it?" The answer is "yes, absolutely!".
  • I've resolved to make fewer garment (not than I'm a prolific sewer anyway) but make them better. I'm aiming for a couple of garments a season. 
How do you feel about the garments you make? Which ones do you enjoy wearing often or make again?

Monday, May 7, 2012

My Sewing (and Knitting) "To Do" list

I'm not a "Do To" list kind of person. I tend to flit from project to project depending on what takes my fancy at the time.

But....I started one on this blog. Mostly to give me visual inspiration and keep me focussed - I get distracted easily by other possibilities.


You can  find my list on this page (we're heading into winter now). I'll continue to add to it but the main purpose is to  do a good job on things on the list and not get too ambitious. Let's see.....

Do you have a "To Do" list? What projects have you got planned for the upcoming season?

Sunday, April 29, 2012

Inspiration Board: Vintage Cocktail Bodice

Here's a rather OTT inspiration board thanks mostly to the Dolce & Gabbana crystal  bustier. The basis for the inspiration is this lovely versatile fitted (and boned) top pattern for cocktail or evening wear. The fabulous thing about this pattern is:

  • it has a number of variations to it ie. strapless, shoestring straps, train (unusual), gathered bust and a shoulder drape
  • it can be used to fit with any skirt options eg, full, pencil or feathered as in the board


Do you think this pattern is too over the top to be practical? Do you like the variations? Have you seen this kind of train on a bodice before?

PS Don't you love these shoes?


Monday, April 16, 2012

Vintage patterns: Survey results


Sometime ago you may remember I asked for some feedback from you on buying vintage patterns.


Firstly, I would like to say a big "thank you" those of you who kindly took the time to respond. As a vintage pattern collector and seller, it's really useful to understand what sewers look for when buying a vintage pattern.


I would like to share some of the survey results you may find interesting.

1. 80% of respondents use vintage patterns. Those who don't use them tend to be concerned about the fit of vintage sizes (they can run small).

2. The most important criteria (in percent) for respondents when selecting vintage patterns are....

Overall design and style is the most important criteria however other criteria that features is larger sizing, looking for design aspects that not available on modern patterns and a complete pattern set.

Once again, thanks for your help. It's great to get the feedback. I've left the survey open until the end of April in case anyone else would like to participate.

I hope you've found this interesting. I know I did.


Wednesday, April 11, 2012

Inspiration Board: Jacques Griffe cocktail dress

I'm mad about the vintage patterns of the French designer Jacques Griffe of the 50s. He designs such beautifully elegant clothes and his evening and cocktail dresses are superb and a favourite of mine.

Here's one of his cocktail dresses with a wonderfully full skirt and deep V neckline. It was wonderful to find a photo showing the pattern made up as a wedding dress.

Do you have a favourite pattern designer? Or pattern brand? Do you collect any particular patterns?

Friday, April 6, 2012

Anyone making an Easter Bonnet?

To celebrate the holidays (if you're feeling crafty) here's a vintage pattern for making Easter hats from the Tacoma News Tribune -Society in 1963. There's a wide brimmed version and a pillbox version. Maybe you'll feel inspired...


Happy Easter everyone. I hope you have a safe and happy holiday. 

Monday, March 26, 2012

Fitting commercial patterns

As part of my effort to continually improve my sewing skills, I attended a Modification of Commercial Patterns course here with the delightful Megan.
Source
The course involved us (a small group) making and bringing a toile (or muslin) made from the pattern of our choice.  The the selection was varied and ranged from tops, blouse, princess seamed dress and my vintage pattern dress without the overskirt (I was ambitious to say the least). I selected this pattern for these reasons:-
  • Basically I liked it and thought it would make a great basic shift dress. It also has a very cute V neckline at the back
  • My shape suits this style but I've never been brave enough to make it because of fit concerns
  • Vintage pattern sizing is very different to commercial sizing so custom fitting is very useful
  • I liked the boat neck but wasn't sure it would suit me
  • I wanted to tackle something challenging (typical)
1950s Simplicity pattern dress 
We then each had a fitting and Megan talked us through the adjustments for each toile. Once the adjustments are made to the toile, they are transferred back to the pattern for future reference. I really enjoyed the process and here's what I learned:-
  • custom fitting and adjustments can make the difference between frumpy (thinking of myself here) and fabulous, seriously. Small adjustments make a huge difference in the look of the garment, even in the toile.
  • Every commercial pattern will need some adjustment - no two bodies are the same and some patterns aren't well designed either.
  • You can't do this yourself. You do need help.
  • If you make the effort on a "basic" pattern eg. pants, dress, jacket etc., you should be able to use this pattern again and again, knowing it fits well. 
  • Making the toile gives you a sense of freedom because you can experiment on cheap fabric and then have confidence cutting into your expensive fabric. 
Some of the adjustments made to my toile were:-
  • The dart was lowered. I did a FBA prior to making the toile and made a hash of the dart...
  • Some of the fullness from the FBA was taken in the bodice
  • The neckline was lowered a little (it was too high)
  • The armhole was enlarged (too tight)
  • The allowance was eased across the hips
So, my toile is now in pieces. The next step is to transfer the adjustments back to the pattern, make the changes on the toile, refit to double check, then cut my fashion fabric. I'll keep you updated on the progress.

If you want to read more on making toile and fitting, go here. In the meantime, what are you thoughts on fitting and making a toile? Do you always make one? Only for expensive fabric? How do you check fit and make adjustments? Who helps you?
Related Posts Plugin for WordPress, Blogger...